The Western Digital My Cloud EX2100 is a dual-bay NAS based on the Marvell Armada 385 dual core ARMv7 CPU first released in 2015.
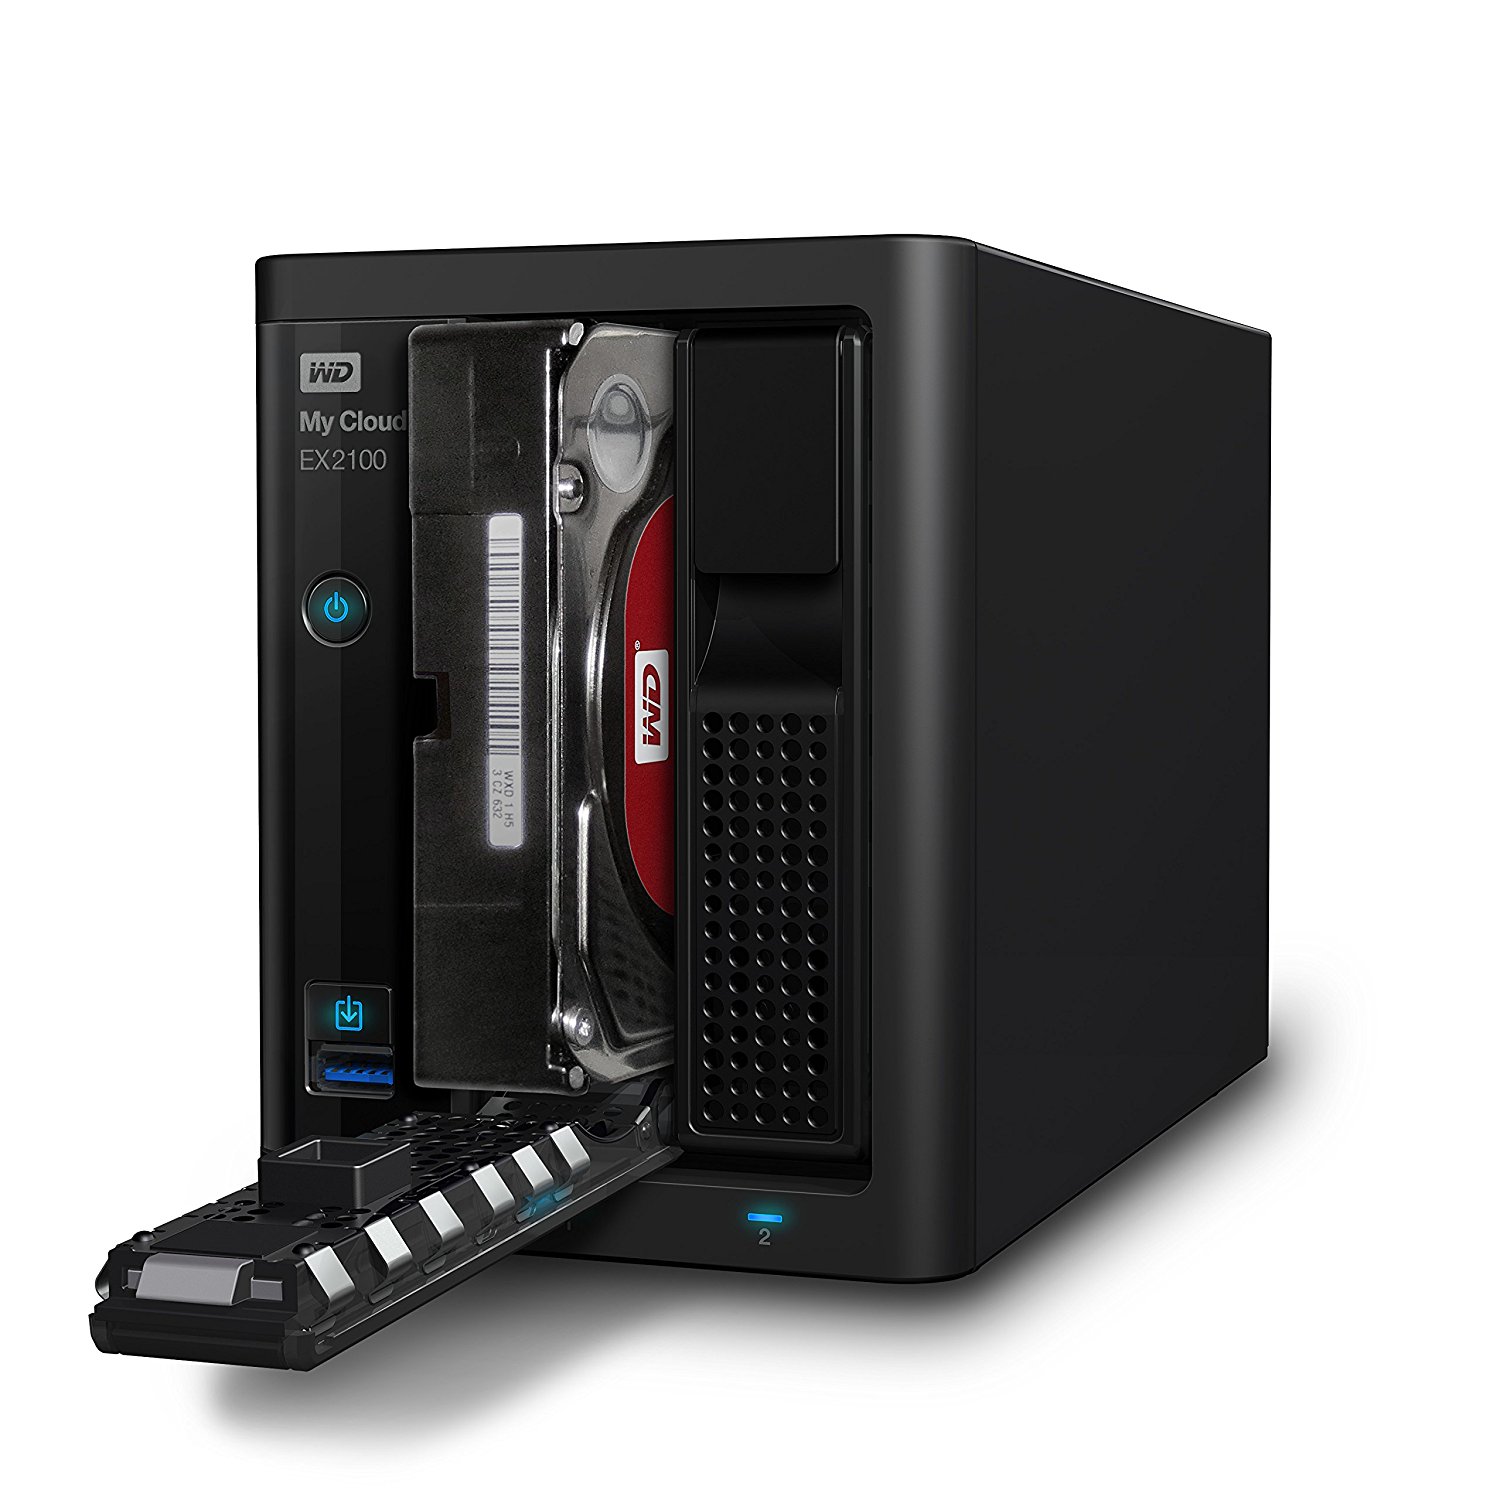
In terms of NAS devices available in 2017, it isn’t very special. I would say the only major differences between most other devices in the 2 bay category are:
- Dual Gigabit Ethernet
- Screwless and trayless hard drive installation
The dual GigE interfaces are what attracted me to the device over competitors like the Zyxel NAS326 and Western Digital’s own MyCloud EX2 Ultra.
Unlike some other NAS bundles, it’s possible to buy the EX2100 without drives, so you can add your own preferred 3.5″ SATA hard drives. I bought a refurbished unit for 110€, which seems typical for a device with these features. For some reason the resale price of these units has skyrocketed since I bought mine in mid-2017. I personally would not pay more than 150€ for such a device. If you get into the higher price range of these SOHO devices, you’re almost always going to get better value for your money building your own NAS using standard x86 components (such as the HP MicroServer G7/Gen 8/Gen 10) and a distribution like FreeNAS or OpenMediaVault.
Since the vendor supplied firmware is almost always a pile of unsightly hacks, I set to work investigating into how to put a better operating system on the EX2100. If you stick around to the end, you’ll see this particular product also has its share of unfortunate hardware design decisions…
kwboot
Before we get into anything about u-boot or the operating system, we need to talk about kwboot.
kwboot stands for “Kirkwood boot”
Kirkwood is an ARMv5 SoC from Marvell around 2008-2009 that started out in the SheevaPlug (what single board computers were before the creation of the Raspberry Pi) and sooner or later found its way into a lot of NAS devices like the D-Link DNS320 and the Zyxel NSA320.
Coming back to the near-past (2015), and we have the Western Digital EX2100/4100 which use the Marvell Armada 385/388 CPU, which is a dual-core ARMv7 design. However it was known that the Armada SoC could boot from serial because of the SolidRun ClearFog. But the ClearFog uses DIP switches to set the boot source, and most (all?) consumer devices lack these.
ClearFog Pro boot source selection DIP switches
It turns out it is possible to kwboot consumer devices based on the Armada 38x, however you need to apply this patch to kwboot to parse the response from the Armada CPU, which differs from the Kirkwood response. Unfortunately the patch broke Kirkwood compatibility, and was seemingly never merged into u-boot mainline. However, you can still apply it to the kwboot source in u-boot and compile kwboot for use with Armada CPUs.
Once you have patched kwboot, you can use it to test new versions of u-boot via a USB to uart adapter:
$ ./kwboot -f -t -B 115200 /dev/ttyUSB0 -b u-boot-uart.bin -s 0 -q 1
There are some synchronization issues with the magic sequence, so it often takes several attempts before successfully loading via kwboot. A dead giveaway that you need to power cycle the device and try again is when you immediately see u-boot output in the console instead of “Sending boot image…”
A successful attempt should look similar to the following:
$ ./kwboot -f -t -B 115200 /dev/ttyUSB0 -b u-boot-a38x-Yosemite_2014T3_PQ-nand-uart.bin -s 0 -q 1

Sending boot message. Please reboot the target...-�$�"Ufw�$�"U����$

Dfw�$�"U�\�$�"U����$�DUf�$�"Uw��"U����$4"U���$�"Uw�$�"U���$�DUf|fD�&T���$�"U�E�$�"Df3DD�DU�E7$�"U����$4"U���$�"U�E�4"U�/7@� ��$DUw�$�"U����$�DUff�$�"D��fD$U��

Sending boot image...

0 % [......................................................................]
Once kwboot works, you can safely proceed to testing u-boot modifications without the risk that you brick your device, as kwboot runs code in memory without modifying the contents of NAND.
u-boot
Unfortunately mainline u-boot doesn’t support this device, although similar devices are supported, such as the Turris Omnia (Armada 385) and Solidrun Clearfog Pro (Armada 388). It’s no surprise that attempting to kwboot a build of mainline u-boot for these targets on the EX2100 doesn’t work. So currently we have no choice but to use the u-boot source from Western Digital’s GPL archive.
The stock u-boot on the device does not support saveenv. Without modifying NAND, it is possible to boot Linux from USB, however this requires using the uart console and manually entering the boot parameters on each boot.
Naively modifying the WD u-boot source to enable the saveenv command results in corruption of the kernel uImage since someone at WD set the environment offset to 5MB and this is beyond the u-boot partition, corrupting the uImage.
However it is possible to modify the WD u-boot source to save environment variables within the 5MB allocated for u-boot. This requires reflashing u-boot to the device. Before you replace the stock u-boot on your device, you should take a backup of the u-boot region of flash. This can be done from within the Western Digital firmware, but requires a USB to UART adapter and a header soldered to the PCB:
# nanddump --noecc --omitoob -f mtd0.bin /dev/mtd0
Remember to copy this file somewhere off-device, such as a USB key, for safe keeping!
The general steps to replace the stock u-boot are:
- kwboot a modified u-boot which saves environment variables within u-boot region
- Inside u-boot, run saveenv
- Boot Debian from USB or SATA
- Dump u-boot env to a file (using nandread)
- Erase u-boot portion of mtd0 (using flash_erase)
- Flash new u-boot (using nandwrite)
- Restore u-boot environment variables (using nandwrite)
- Reboot
Dump the u-boot env to a file:
# nanddump -s 0x100000 -l 0x80000 -f ubootenv.bin /dev/mtd0
Erase the u-boot portion of mtd0 and flash the new u-boot to NAND:
# flash_erase /dev/mtd0 0 8

# nandwrite -p /dev/mtd0 u-boot-a38x-Yosemite_2014T3_PQ-nand.bin
Restore u-boot environment variables:
# nandwrite -p /dev/mtd0 -s 0x100000 ubootenv.bin
Integrated MCU
Western Digital decided to use an external microcontroller to handle certain system management functions such as fan control, LED control, and power on/off.
Sadly the microcontroller uses a proprietary and undocumented protocol for communication, and as it turns out this protocol can differ even between Western Digital products!
For the Western Digital EX2100 and EX4100, the integrated microcontroller communicates on ttyS1 at 115200n8, unlike other Western Digital NAS products whose microcontroller communicates at 19200n8.
Thankfully, some of the commands are common, so once communication with the microcontroller has been established, fan control and temperature monitoring are functional. Fan control and temperature monitoring are available through a userspace daemon called “mcm-daemon” (MyCloud Mirror daemon). I have forked the mcm-daemon repository on GitHub and made modifications to support the EX2100/4100.
LED control and power on/off are still a work in progress as the reverse engineered commands used on other WD products do not work on the EX2100/4100.
Debian
The user bodhi at Doozan forums does a great job of providing pre-built Debian images for a variety of Marvell Armada based NAS devices.
Usually I would link to the excellent instructions bodhi normally writes for installing Debian, but since they don’t have the EX2100, writing the instructions fell to me.
But sadly I haven’t got installation instructions written because I’ve bricked my EX2100.
Weltrend WT61P8
Let’s revisit this mystery microcontroller in charge of so many tasks in the EX2100.
Well, after reading that Western Digital My Cloud products contained a backdoor and multiple vulnerabilities I thought I would go and update the WD firmware before continuing to write the Debian installation instructions. The WD firmware resides on the built in 512MB of EMMC, while Debian lives on a USB device, so the installation of Debian does not replace the original WD firmware.
During the WD update process I noticed that it was also updating the firmware of the Weltrend:
16479 root      6624 S    /var/www/cgi-bin/system_mgr.cgi

16480 root      2560 S    sh -c cd /usr/local/upload/;upload_firmware -a -n 'nas-new-firmware' >/dev/null;cd /

16481 root      4544 S    upload_firmware -a -n nas-new-firmware

19436 root     49120 R    mcu_upgrade -r -f /tmp/uP_0.bin

19552 root      2720 R    ps ax
How curious! Since the Weltrend is very undocumented I was eager to learn more about the firmware it runs.
I found out a good deal more than I’d expected. Firstly, the mcu_upgrade binary contains some interesting strings. Here is a short sample of strings in the binary:
WT61P8

Enable ISP

Set ISP

Erase

Page Erase

Program

Set Address High Byte

Finish
The MCU firmware also has some very interesting strings. Here is a short sample of strings in the firmware:
nick 1111

nick 2222

nick 3333

nick 4444

MyCloudDL2000

Cannot Copy

from Camera

Cannot Move

Storage

Almost Full

Limit Reached

nick pwr on

nick pwr off 1

nick pwr off wol

Welcome to

RTC_ALARM pwr on
Googling the part number “WT61P8” lead to a very interesting datasheet (PDF) describing the microcontroller in detail.
What I found from the datasheet was… not anything I expected to find.
It’s a Turbo 8052 CPU with ~48KB of built-in EEPROM (this is my guess based on the part number and size of firmware mcu_upgrade was sending) and it’s a “Flat Panel Display Control Sub-MCU”

Most information about Weltrend microcontrollers is on Russian language forums dedicated to TV repair. The most common use of this MCU is in Samsung TVs for power management, since it includes an IR receiver and HDMI CEC capabilities.
They do support ISP (In-system Programming) via I2C, if you have the right hardware. There are quite a few Russian articles and YouTube videos on how to program these chips in TVs.
Conclusion
After reading about WD’s numerous firmware vulnerabilities and a back door, which were also present in D-Link NAS products (implying a shared code base or same third party contractor), and then learning that the microcontroller in charge of power management for the EX2100 (and other My Cloud products) was intended for power management in LCD TVs:

My final $0.02: this thing is an utter bodge job in both hardware and software! Don’t buy one of these. It doesn’t matter that can be persuaded to run Debian, it’s terrible value for the price.
You’re far better off getting an older PC and running FreeNAS or OpenMediaVault. Older corporate tower PCs with 2nd or 3rd gen Intel processors like the Dell Optiplex line can easily be purchased for under $150 from places like eBay.
If power consumption is really important to you, then I would recommend something like the Rock64 which has Gigabit Ethernet and excellent USB 3.0 performance with Armbian. It also comes with more RAM than the EX2100 (1/2/4GB while EX2100 has only 1GB) and is a quad core aarch64 instead of dual core armv7!
Best of all, an older PC or Pine64 is going to be cheaper than the EX2100 (or ludicrously more expensive 4 bay EX4100) anyway.
If I ever manage to restore the Weltrend firmware rest assured there will be a follow up article with both the journey of unbricking and instructions to install Debian. Until then, I’m going to take the HDDs I planned to use in the EX2100 and build a FreeNAS in an old PC. ✌️
Pingback: Western Digital Weltrend MCU | «WatchMySys» Blog
Pingback: Debian on WD EX2100: Installation instructions | «WatchMySys» Blog